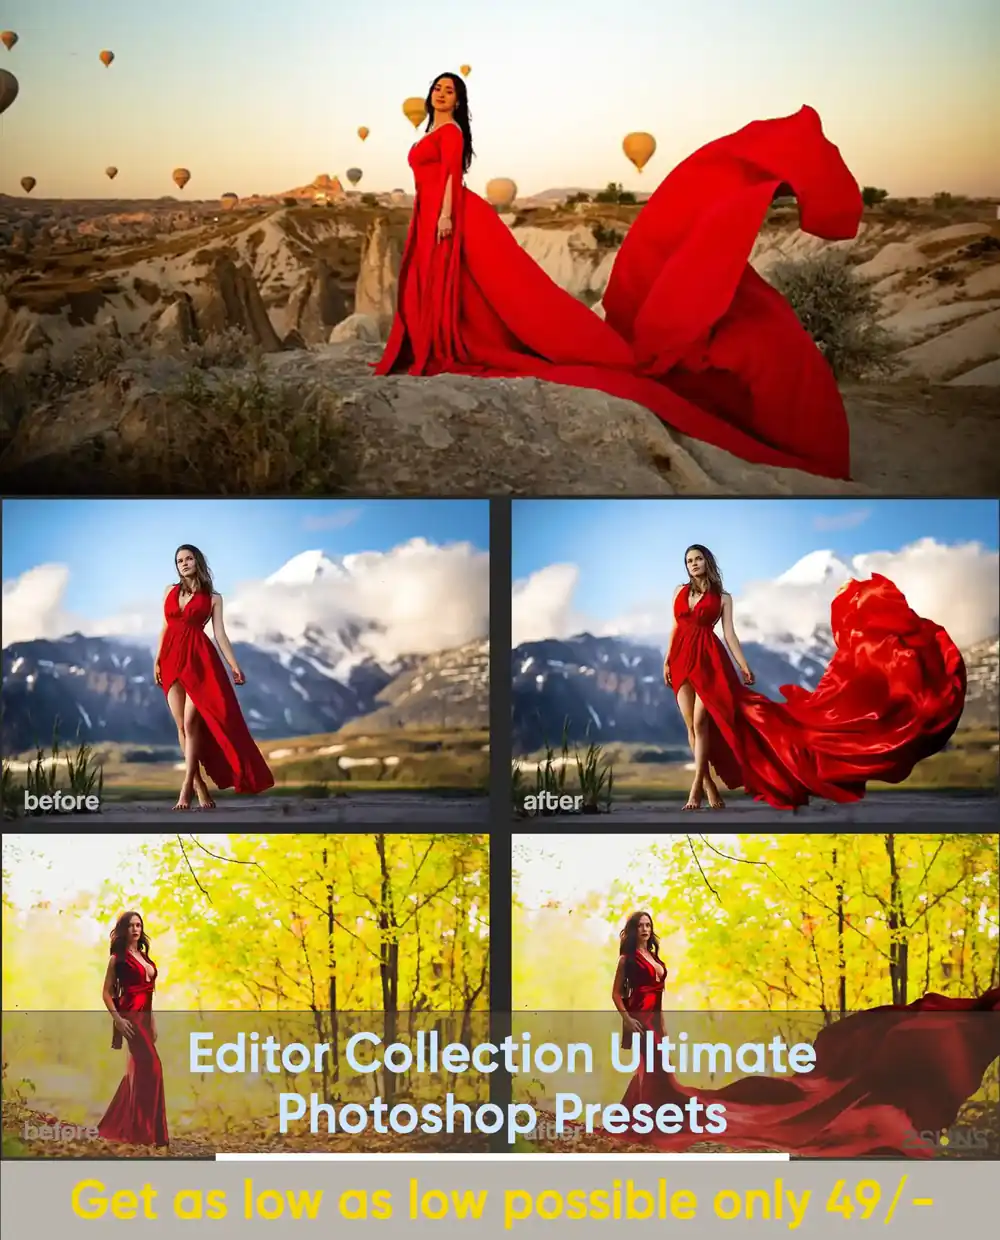
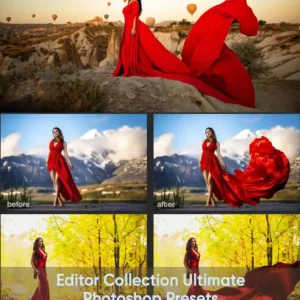

How to Add a Flying Fabric Overlay in Photoshop: A Step-by-Step Guide
Adding a flying fabric overlay in Photoshop can enhance your photos with a dreamy, dynamic effect. Whether you’re editing portraits, fashion shots, or creative composites, this technique adds movement and elegance. Here’s how to do it with intermediate Photoshop skills.
Step 1: Choose the Right Fabric Overlay
Start by selecting a high-quality flying fabric image with a transparent background (PNG format works best). Websites like Pexels, Freepik, or Adobe Stock offer great options.
Step 2: Import and Position the Fabric
- Open your base image in Photoshop.
- Drag and drop the fabric overlay onto your project.
- Use Free Transform (Ctrl+T / Cmd+T) to resize and rotate the fabric naturally.
Step 3: Blend the Fabric Seamlessly
- Layer Blending Mode: Try “Multiply” for dark fabrics or “Screen” for light ones. Adjust opacity (50-70%) for a natural look.
- Layer Mask: Use a soft brush on the mask to erase harsh edges where the fabric meets the subject.
Step 4: Match Colors & Lighting
- Color Balance (Ctrl+B / Cmd+B): Adjust fabric tones to match your image.
- Curves/Levels: Modify highlights and shadows to blend lighting realistically.
Step 5: Add Motion Blur (Optional)
For extra realism, apply Filter > Blur > Motion Blur (set angle according to fabric movement).
Pro Tips:
✔ Use Warp Tool (Edit > Puppet Warp) to reshape fabric naturally.
✔ Add Drop Shadow (Layer Style) for depth if needed.
✔ Experiment with Gradient Maps for artistic color effects.
Final Thoughts
Mastering flying fabric overlays takes practice, but the results are worth it. Play with blending modes, lighting, and positioning to create stunning edits!
(Include reference images for clarity—show before/after results.)
Would you like a video tutorial to accompany this guide? Let us know in the comments! 🚀🎨
Reviews
There are no reviews yet.